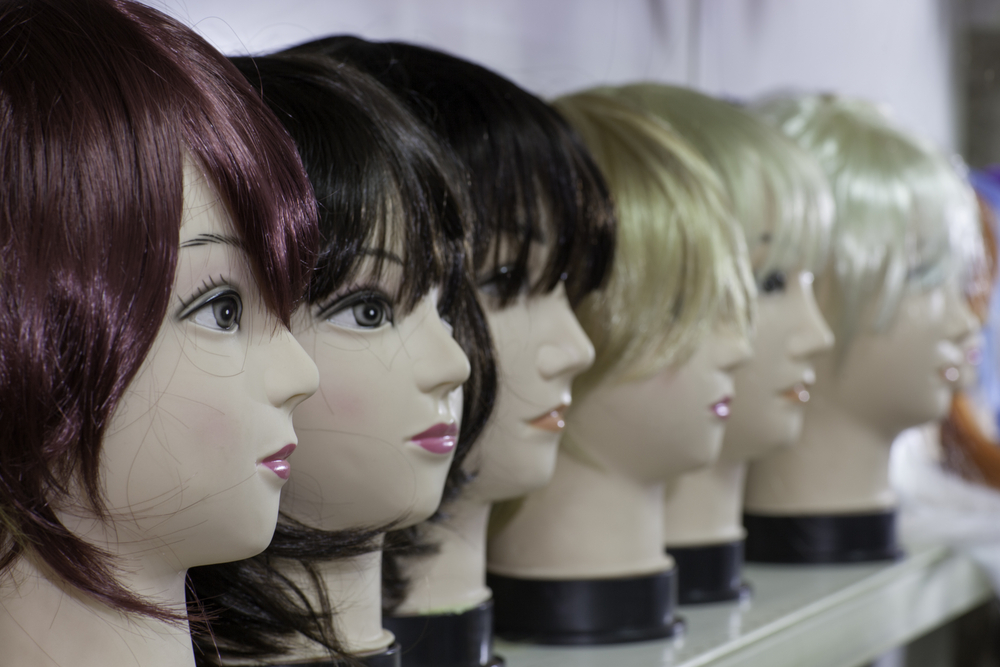
Wigs are fun to style and wear, and they offer a lot of versatility for your overall look. The key to getting the most out of your new hair is to make sure it looks like the real thing.
It takes practice to learn how to pluck a wig, and the professionals at Hair Fetish Atlanta Salon can take you step by step through the process.
Expert Guidance on Plucking Wigs
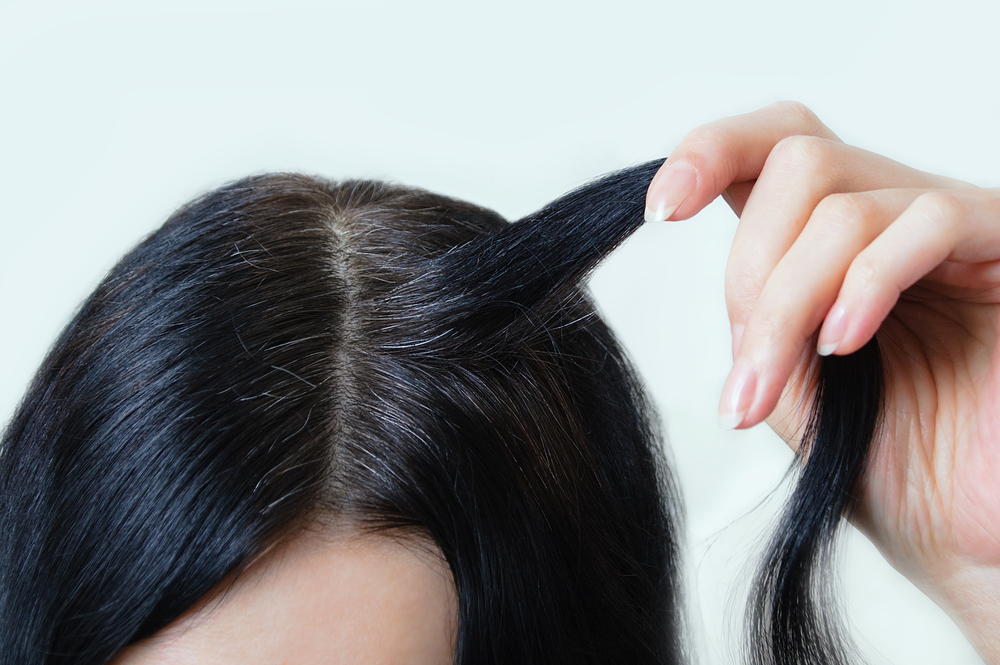
There are several reasons a wig needs to be plucked before you wear it. Plucking is the process of thinning the hair at the front of the piece. This helps the wig blend in with your natural hairline more seamlessly.
When you find a great wig, you want it to look as real as possible. However, most wigs are made with a straight hairline. That’s a dead giveaway that it’s not your natural hair. During the plucking process, your stylist shapes the front of the wig so that it looks like it’s growing out of your scalp.
It makes sense to pay the experts at the salon rather than trying to do it yourself, particularly if you aren’t very familiar with how to pluck a wig. Everyone who has ever overplucked their eyebrows knows how upsetting that can be, and that’s just on a small part of the face. An uneven hairline is even more noticeable.
A quality HD full lace or lace front wig is an investment. Hiring a professional to guide and assist you through every step of the installation process is a smart choice.
How To Pluck a Wig: Step-by-Step
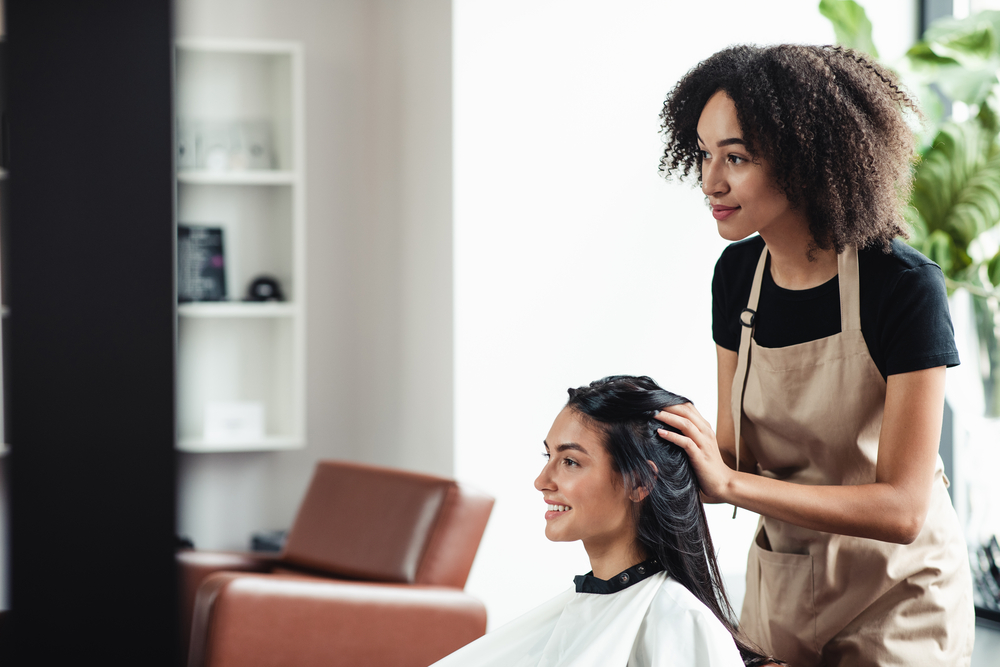
The first thing the stylists at Hair Fetish Atlanta Salon will do is take note of your natural hairline. You want it to blend in with the shape that is already there so that it doesn’t look fake. Once they have a clear idea of how it should look, it’s time to begin the plucking process.
1. Preparing the Hair
When learning how to pluck a wig, many people are so focused on getting the actual hair removal part right they may glide past the preparation phase. However, this first step is crucial for ensuring that the plucking is even and the lace and wig are protected.
There are several tools that most professionals use when plucking a wig:
- Styrofoam or mannequin head
- Straight pins
- Rattail comb
- Hair clips
- Tweezers
- Mousse (optional)
They start by securing the wig to the styrofoam head by pinning the lace to it. Another benefit of hiring seasoned professionals for this process is that they know how to proceed carefully so that they don’t tear the lace.
Before they begin to pluck, stylists comb out any tangles in the hair. They may also use a lightweight mousse to help smooth it out and make the strands more manageable.
2. Shaping the Front
The main goal when deciding how to pluck a wig is to match it to your hairline as closely as possible. There are many different hairline shapes. For example, if you want your wig to match your natural widow’s peak, your stylist will need to pluck enough strands to create it as part of the wig’s hairline.
Stylists section off the front line of hair and clip the rest out of the way. With the tweezers, they pluck a hair every few millimeters to thin it out. Once the first section is complete, they comb out another section and repeat the process through several layers until the wig looks like natural hair.
The stylist who plucks your wig can also cut small tufts at several points so that it looks like you have baby hairs along your hairline. This is not an essential part of the plucking process, but many people think it makes a wig look more natural.
3. Thinning the Sides
It’s not enough to just shape the portion of the wig that will sit at the top of your forehead. All the hair that frames your face needs attention so that it doesn’t look too bushy. The next step in how to pluck a wig is thinning the sides.
The technique is similar to the one used to pluck the top of the hairline. Stylists pluck by section, meticulously paying attention to the spacing between each hair that is removed so that there are no gaps. No one likes bald spots in a wig!
Once the process is complete, your stylist will comb through the wig to ensure that all the loose hair is fully removed. After a final once-over, your customized wig is done and ready to be installed.
How To Pluck a Part
When you wear a wig, you can style it just as you would your natural hair. Although a defined part is not always included in the process of plucking a wig, it can be a flattering aspect of a number of hairstyles.
If requested, stylists can create a defined part in a wig during the plucking process. Once the hairline is shaped, they use the rattail comb to reveal the line where you want your part to be. Then they pluck hairs along the part every few millimeters to give it the look you desire.
It may not seem like they are removing a lot of hair when they pluck a part, but that’s on purpose. If they tweeze too many strands, it’s likely to create a bald patch that may be a clear sign that your hair is a wig. Trust their expertise, and you’ll have gorgeous locks that fall just the way you want.
Professional Help for How To Pluck a Wig
If you want to upgrade your look but don’t know how to pluck a wig, the stylists at Hair Fetish Atlanta Salon are here to help. Once our team hears your hair goals, they can recommend the best services to help you achieve them. To get started, create or log in to your online account to book an appointment.

